Your cart is currently empty!
Author: nike
-
Skinning Method
Simple skinning with Skin Helpers
Skinning a character with Skin Helpers allows you to avoid painting weights, and achieve good deformation with additional joints.
[/lightbox]
[note note_color=”#91ff66″]You can use an unlimited number of Skin Helpers, this will not affect the final performance. Run the “Transfer Skin Helper Influenses to parents” command at the end of the skinning.[/note]
Smart Bind
If you need to change the geometry of the character or change the position of the skeleton in the future, then the re-skinning process is just one click of the Smart Bind button.
https://www.youtube.com/watch?v=6ME2NBZeegQ -
Proposed concept during rigging
The Selector plugin provides functionality for convenient control of each rig during animation. In most cases, the Rigger creates a setup that is understandable to the Selector automatically, but sometimes you need to manually observe some nuances during rigging.

Select All

Each animated rig control has a postfix “_ctrl”. Now the “All” function works in the Selector, which selects all controls of the rig.
select `ls "*_ctrl"`;
Skin Joints

Each joint involved in skinning must be marked as a “Skin Joint” (Skin Joints > Mark as Skin Joint). This function creates a “skin” joint label for the selected joint. Now, when you press the Smart Bind button, this joint will participate in skinning without the need to select it.
Reset

It is allowed to directly use joints for animation. Thus, when resetting the rotation attributes, the character will return to the correct T-pose (which is very convenient for preparing a pose for animation transfer via humanIK, for example). For the Reset function to work in the Selector, you must save the Initial Pose for the control (Initial Pose > Save Initial Pose). The saved Initial Pose is visible in the Channel Box window in the OUTPUTS section. When you click the green button Finalise or Update All Initial Poses, Initial Poses are created for each object that has the “_ctrl” postfix.
IK Handles

You can directly use IK handles for animation. With the IK Handle selected, press the T key and you will have access to additional attributes such as Twist and Pole Vector. With the help of this functionality, you can make, for example, that the knee follows the pelvis or always looks in the same direction.
Left and Right

For the Left and Right buttons to work, all controls on the left side must be prefixed with “l_”, and controls on the right side must be prefixed with “r_”.
Mirror and Flip

For the Mirror and Flip feature to work, open the Selector > Settings… Add the Invert attributes for each control. If the attribute has a checkbox, then the Selector will multiply the value of this attribute by -1. To see the created Invert attributes in the Channel Box Window, choose Edit > Channel Control. In the Nonkeyable Hidden column, select all the lines starting with Invert and make them keyable ( << Move).
-
How-To rig a character manually
-

How to create a custom rotating space with seamless switching
-

Making the rig Stretchy
-

Rigger. Adding Traditional Control Shapes
-

Basic Face Rigging in Maya using the Rigger
-
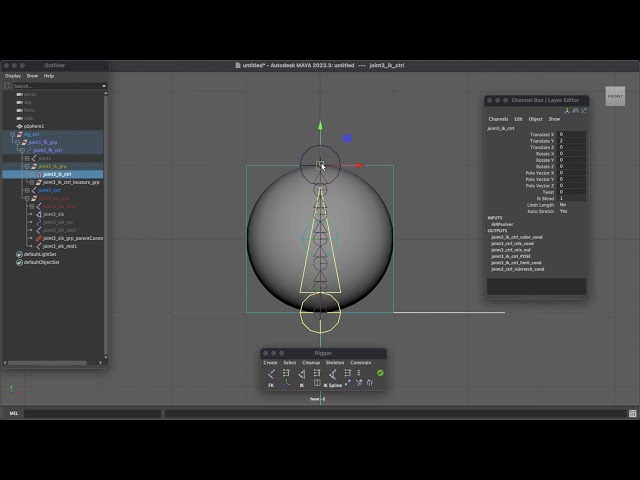
Rigging a stretchy ball using the Rigger for Autodesk Maya
-

Rigging a cartoon ship in Maya using Rigger (Basics)
-

How to rig a horse with Rigger for Maya (Manually)
-
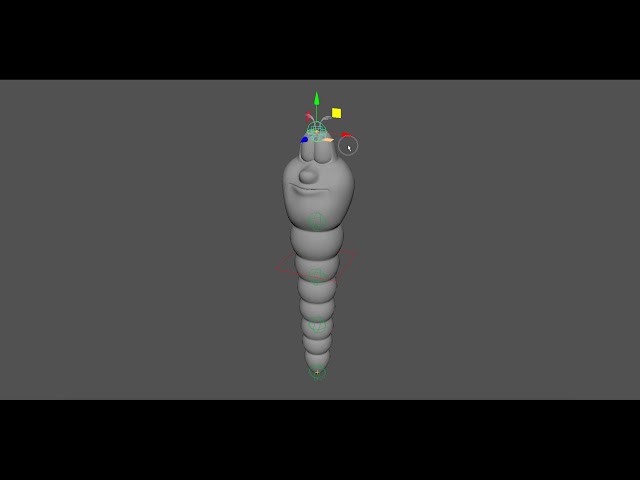
How to rig a worm with Rigger for Autodesk Maya
-
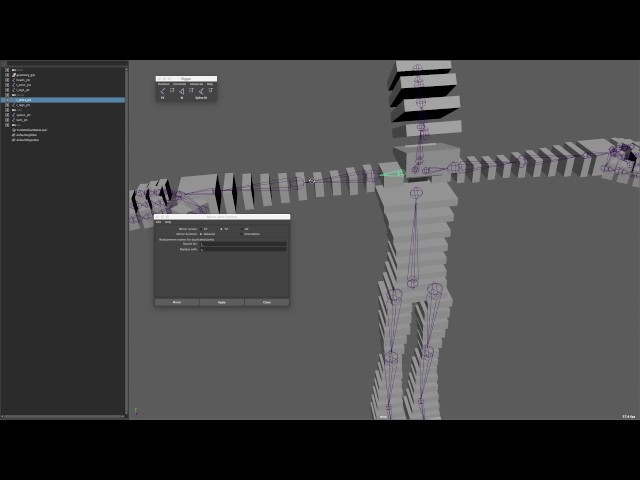
Rigger – Manual Character Setup Example in Autodesk Maya
-
-
Animating a Low-Poly Character Timelapse
-

Animating a Low-Poly Character in Maya (Mantis, Part 1 – Attack)
-

Animating a Low-Poly Character in Maya (Mantis, Part 2 – Walk)
-
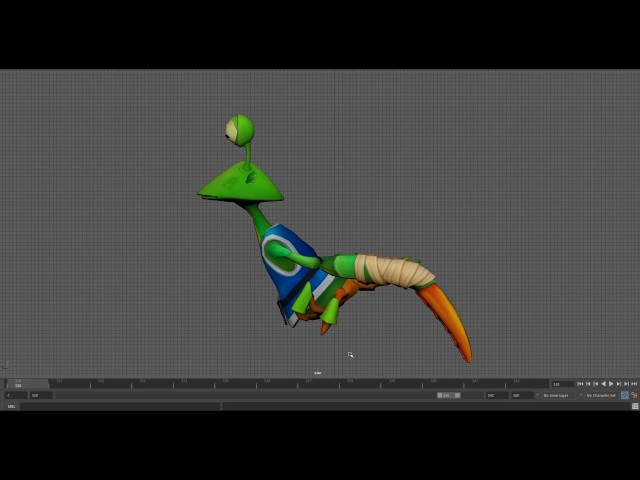
Animating a Low-Poly Character in Maya (Mantis, Part 3 – Run)
-
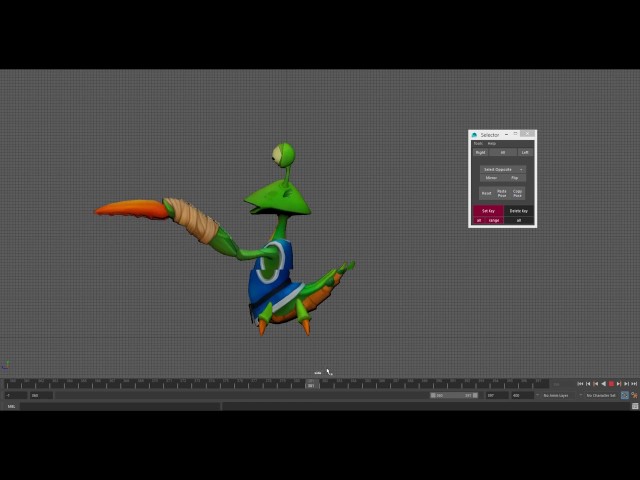
Animating a Low-Poly Character in Maya (Mantis, Part 4 – Spell1)
-

Animating a Low-Poly Character in Maya (Mantis, Part 5 – Spell2)
-
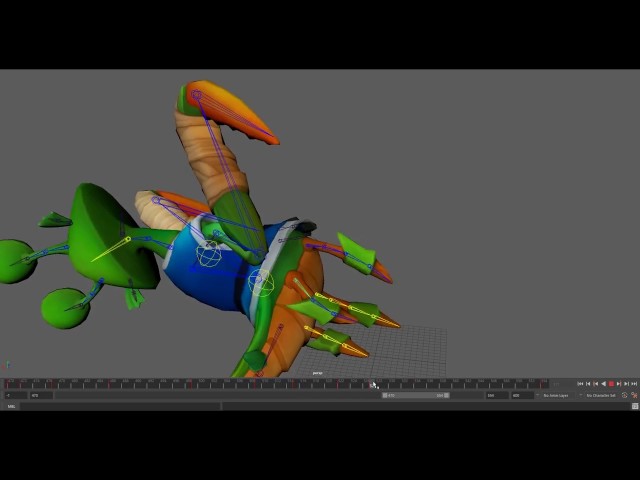
Animating a Low-Poly Character in Maya (Mantis, Part 6 – Death, Timelapse)
-

Animating a Low-Poly Character in Maya (HeavyHard, Idle)
-
